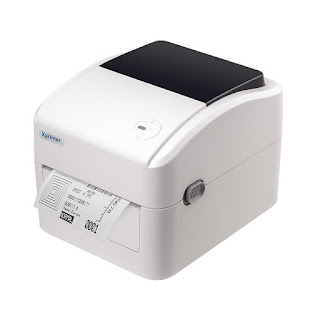
How to Calibrate Xprinter XP-420b
Table of Contents
Follow this steps to calibrate the Xprinter XP-420B label printer:
- Load the label roll into the printer and make sure it's positioned correctly.
- Press and hold the FEED button on the printer for about 3 seconds until the printer starts to print a self-test page.
- Look for the line that says "Gap Value" or "Label Distance" on the self-test page. This value represents the distance between two labels or gaps in the label roll.
- Measure the distance between two labels or gaps on the label roll using a ruler or tape measure.
- Compare the measured value with the "Gap Value" or "Label Distance" value on the self-test page.
- If the measured value is different from the value on the self-test page, you need to calibrate the printer to match the actual gap distance.
- Press and hold the FEED button again for about 3 seconds until the printer enters calibration mode.
- The printer will start to feed labels and gaps until it detects the actual gap distance.
- After calibration is complete, the printer will print a self-test page with the updated "Gap Value" or "Label Distance" value.
- Check the new value to ensure that it matches the actual gap distance of the label roll.
Note that the exact calibration process may vary depending on the specific model of the Xprinter XP-420B. It's recommended to refer to the user manual or contact the manufacturer's customer support for more specific instructions.
